Dusting this thing off to share a quick tip for Single Sign-On work. For a while now I’ve been a proponent of using Claims X-Ray for interrogating/troubleshooting AD FS Claims. The tool is created by the AD FS / Azure AD team, and I have always found it to be a massive help. However, I had never tried using it with Azure AD, and it isn’t really presented as a tool that you would use with Azure AD. Ultimately there is no reason you can’t though, and I am finding it just as useful as I do with AD FS (if not more so). When I say “more so”, consider that many attributes are not easily discoverable in the interface, in PowerShell, or with Graph queries. Even attributes as important as user.onPremisesSamAccountName are quite hard to find unless you know the Graph syntax, so in some cases it may be simplest to add an unknown Claim to Claims X-Ray and interrogate away.
Here’s a view of my configuration. It will literally take two minutes (by which I mean 4 minutes and 24 seconds in the first empirical data to arrive) to deploy in your labs, and there is no reason not to target it at All Users, since it only unveils their own data.
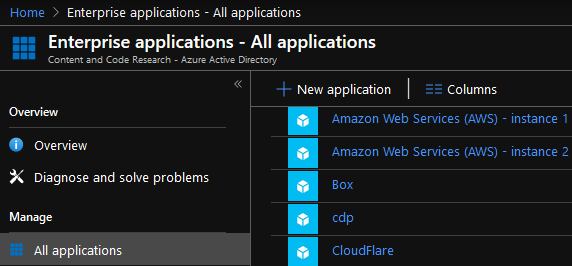
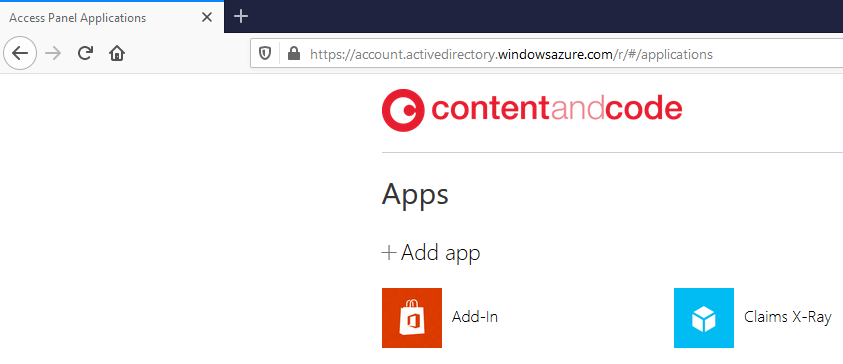
Navigate to Enterprise Applications in Azure AD
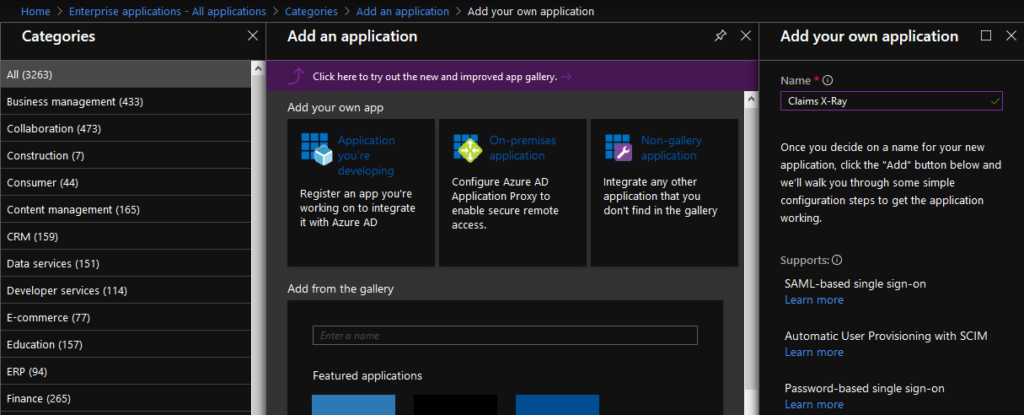
Add a Non-Gallery Application, and name it “Claims X-Ray”, or whatever you like.
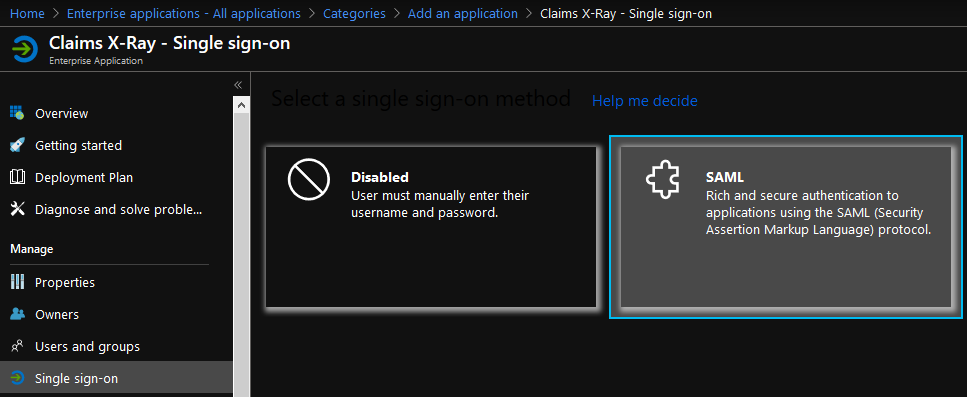
Configure Single Sign-On

Configure SAML
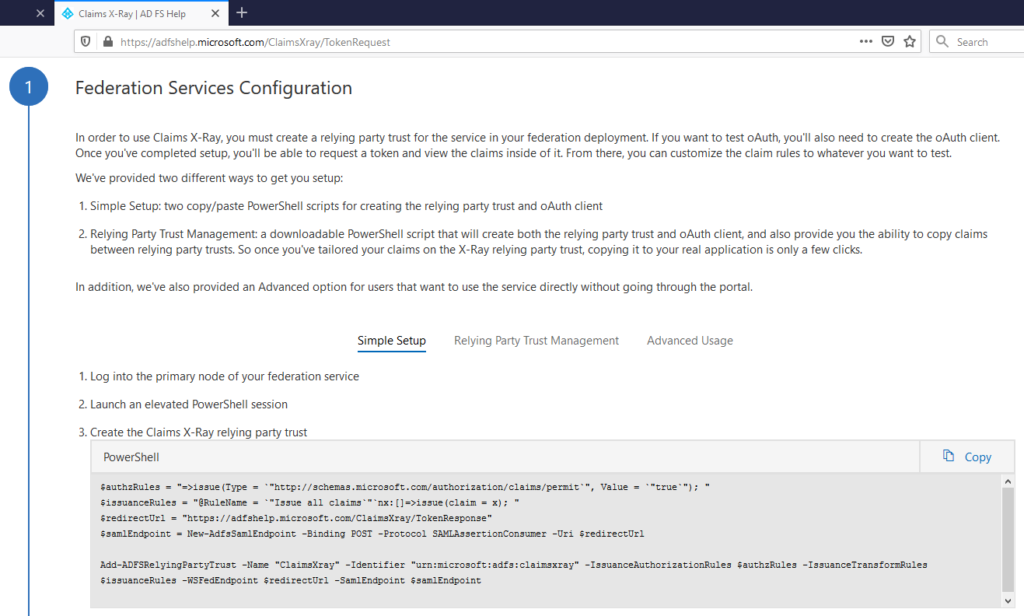
Extract the Redirect URL and Identifier from the Claims X-Ray site
Open the Basic SAML configuration options
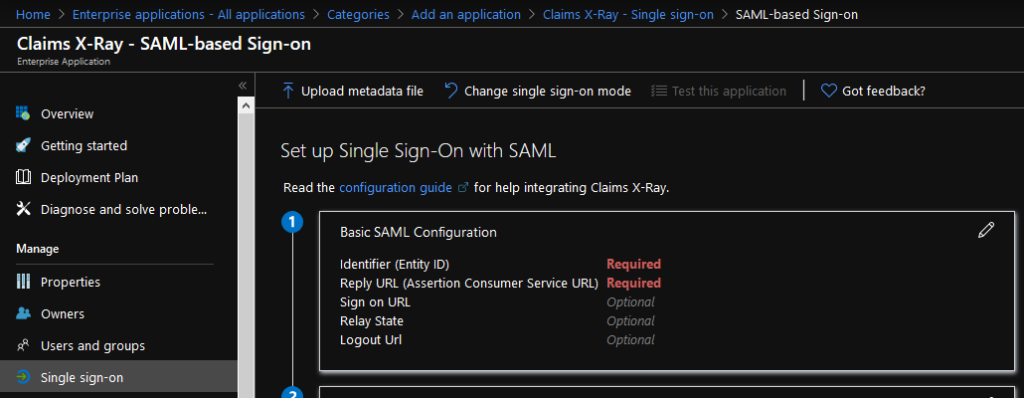
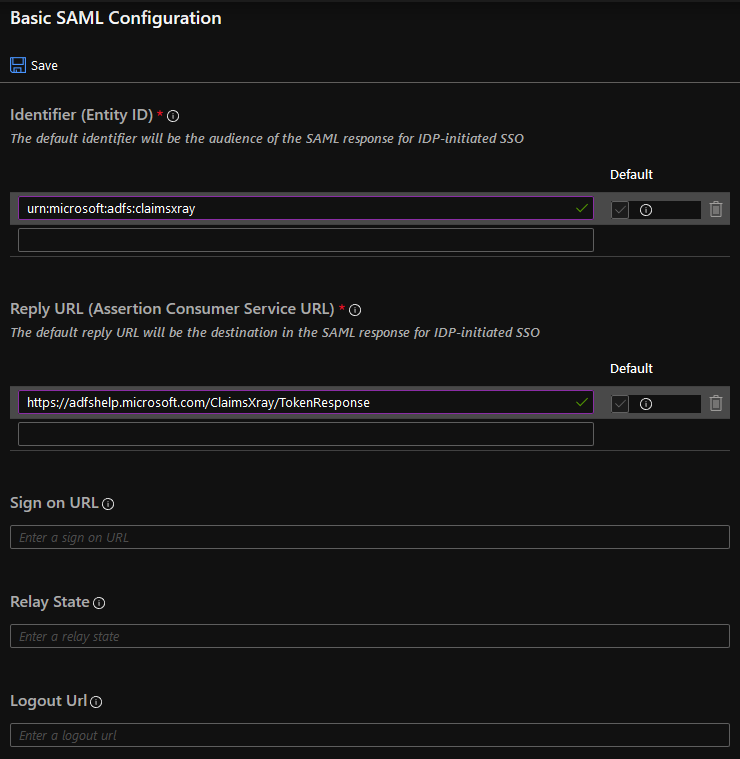
Paste in the Identifier from Claims X-Ray as Identifier (Entity ID). Paste in the Redirect URL as Reply URL (Assertion Consumer Service URL)
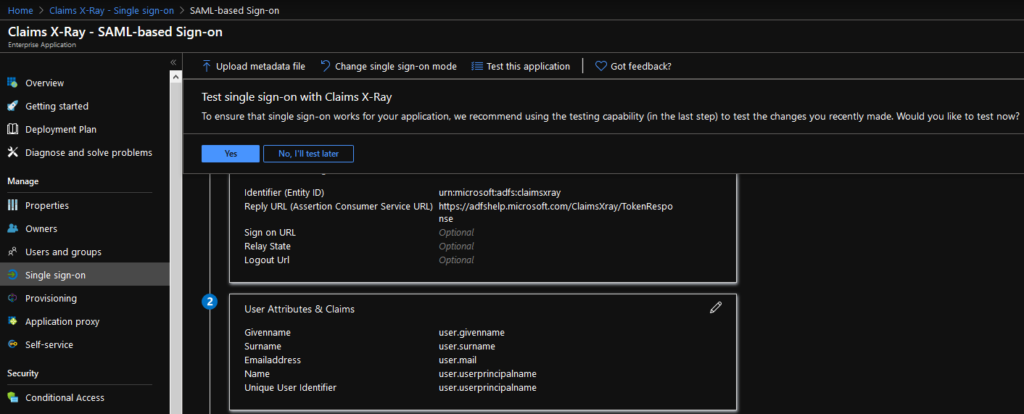
When this is Saved successfully, do not choose the testing option yet, as the application hasn’t been assigned.
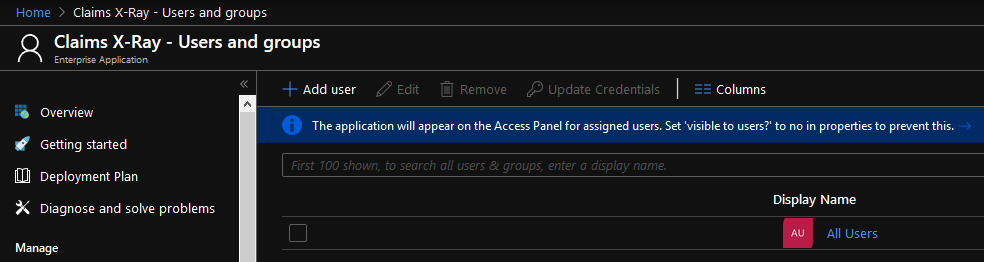
Add All Users (or whichever Group you would like to target). Personally, I see little reason to target this narrowly in a test environment.
Test the application from the My Apps portal.
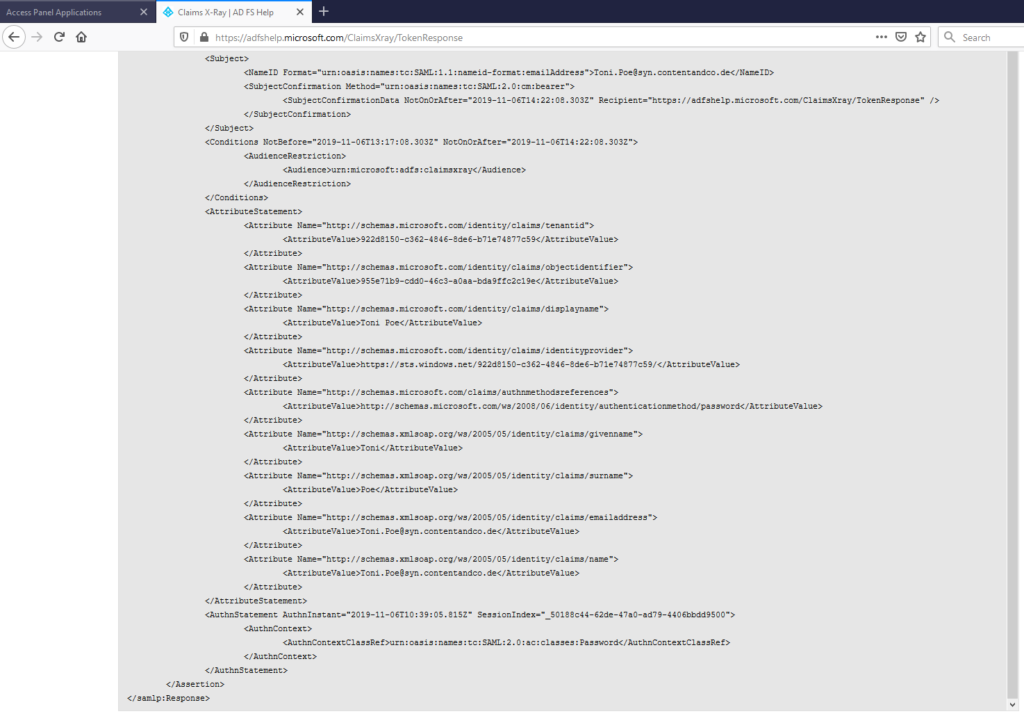
That’s it! You will see a response like this in the default configuration.

And you can even view the Raw token data if you need to look at things like the token format, etc.
Hope this helps! In my view this should become a standard part of anyone’s Azure AD test environment.

You must be logged in to post a comment.